How to Draw an Anime Face Step by Step
Learn how to draw an anime face step by step using simple guide lines for the head shape, eyes, nose, mouth, ears, and hair. This beginner-friendly tutorial is perfect for practicing clean anime-style proportions.
Before you start
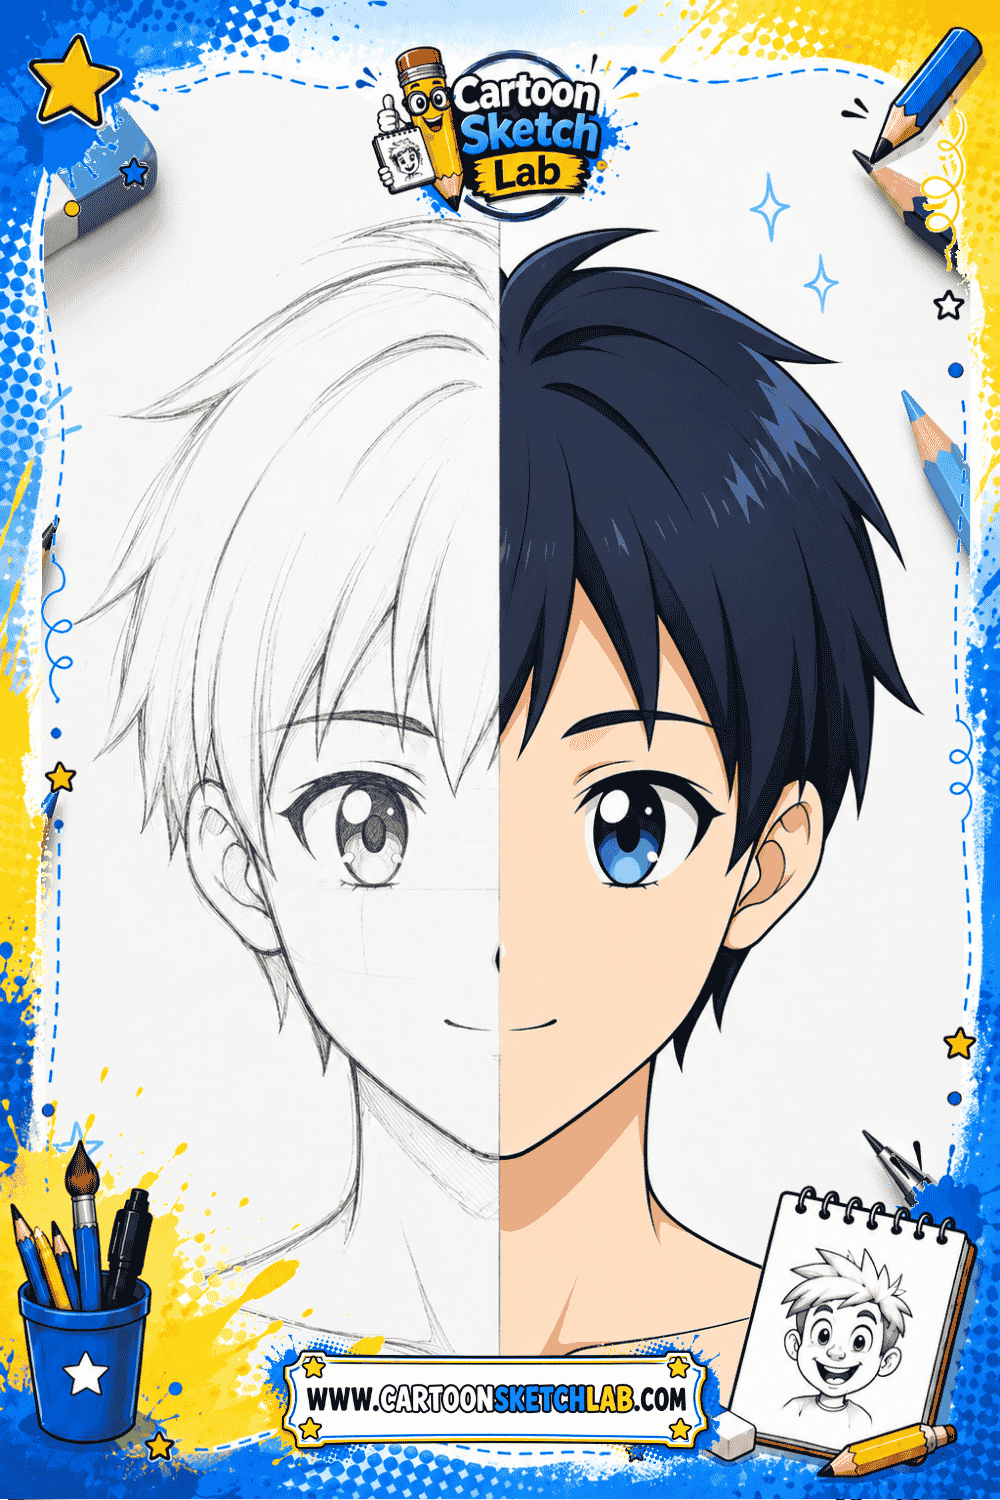
Anime faces may look detailed at first, but beginners can draw them more easily by using simple shapes and light guide lines. In this tutorial, you will learn how to build an anime face step by step, starting with the head shape and ending with the eyes, nose, mouth, ears, hair, and final clean outline. This lesson is made for beginners who want to practice anime-style drawing without feeling lost. Take your time with each step, keep your sketch lines light, and focus on clean proportions before adding details.
Materials needed
- Pencil
- eraser
- paper
- black pen
- colored pencils
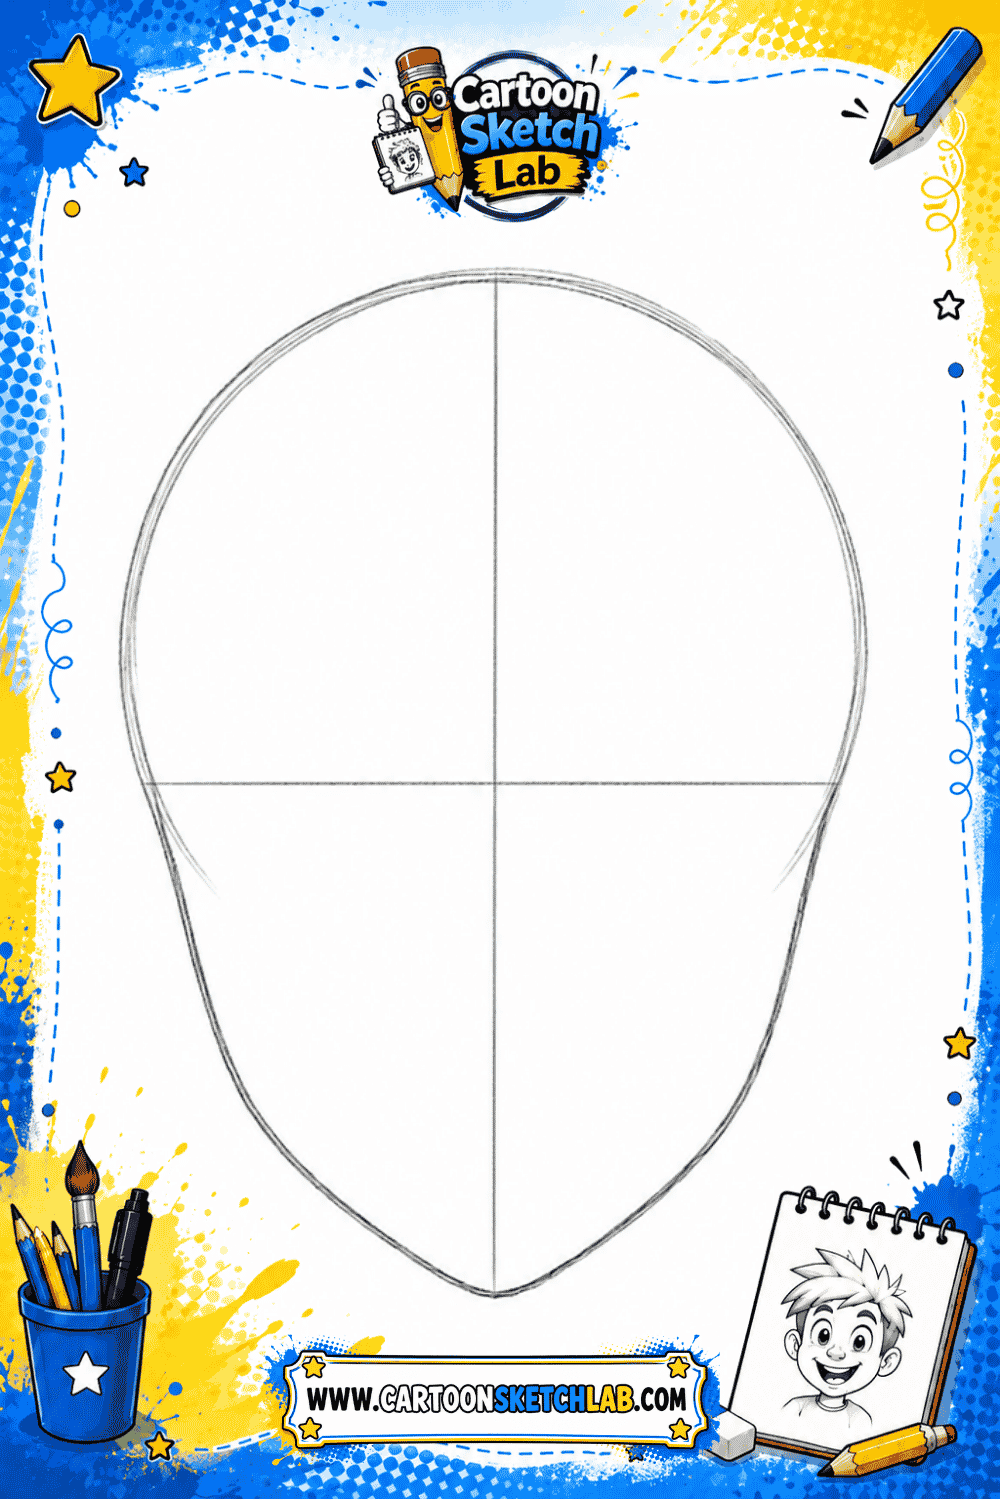
Step 1
Draw the basic head shape
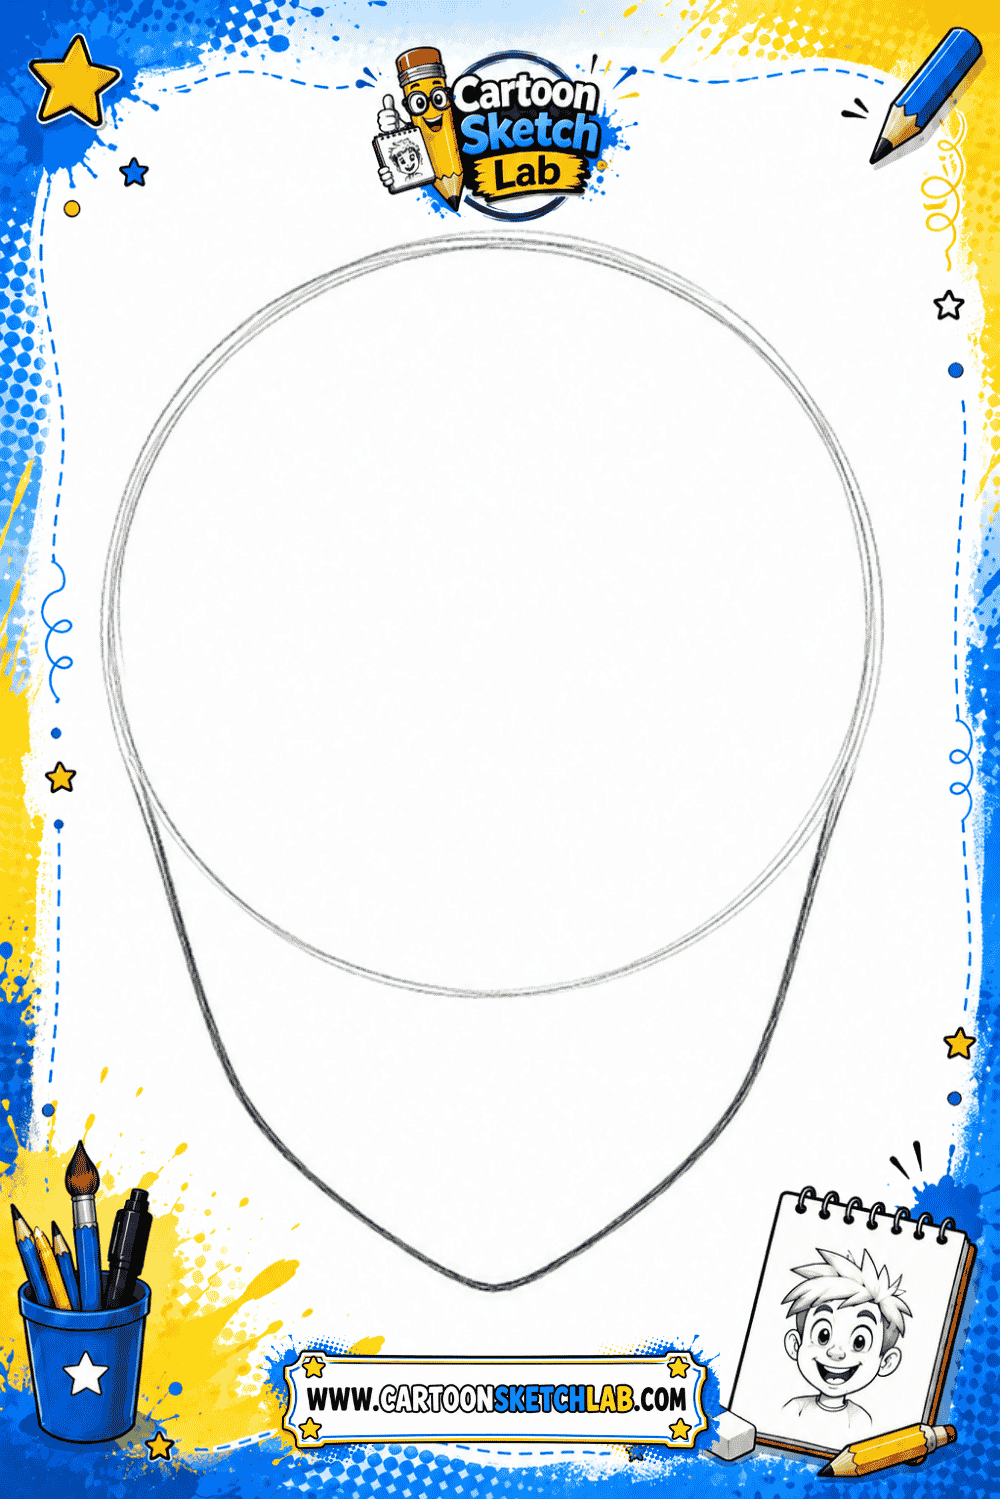
Start by drawing a light circle for the top of the head. Then add a small curved jaw shape under the circle to create the lower part of the face. Keep your lines soft because you will adjust the face shape later.
Step 2
Add face guide lines
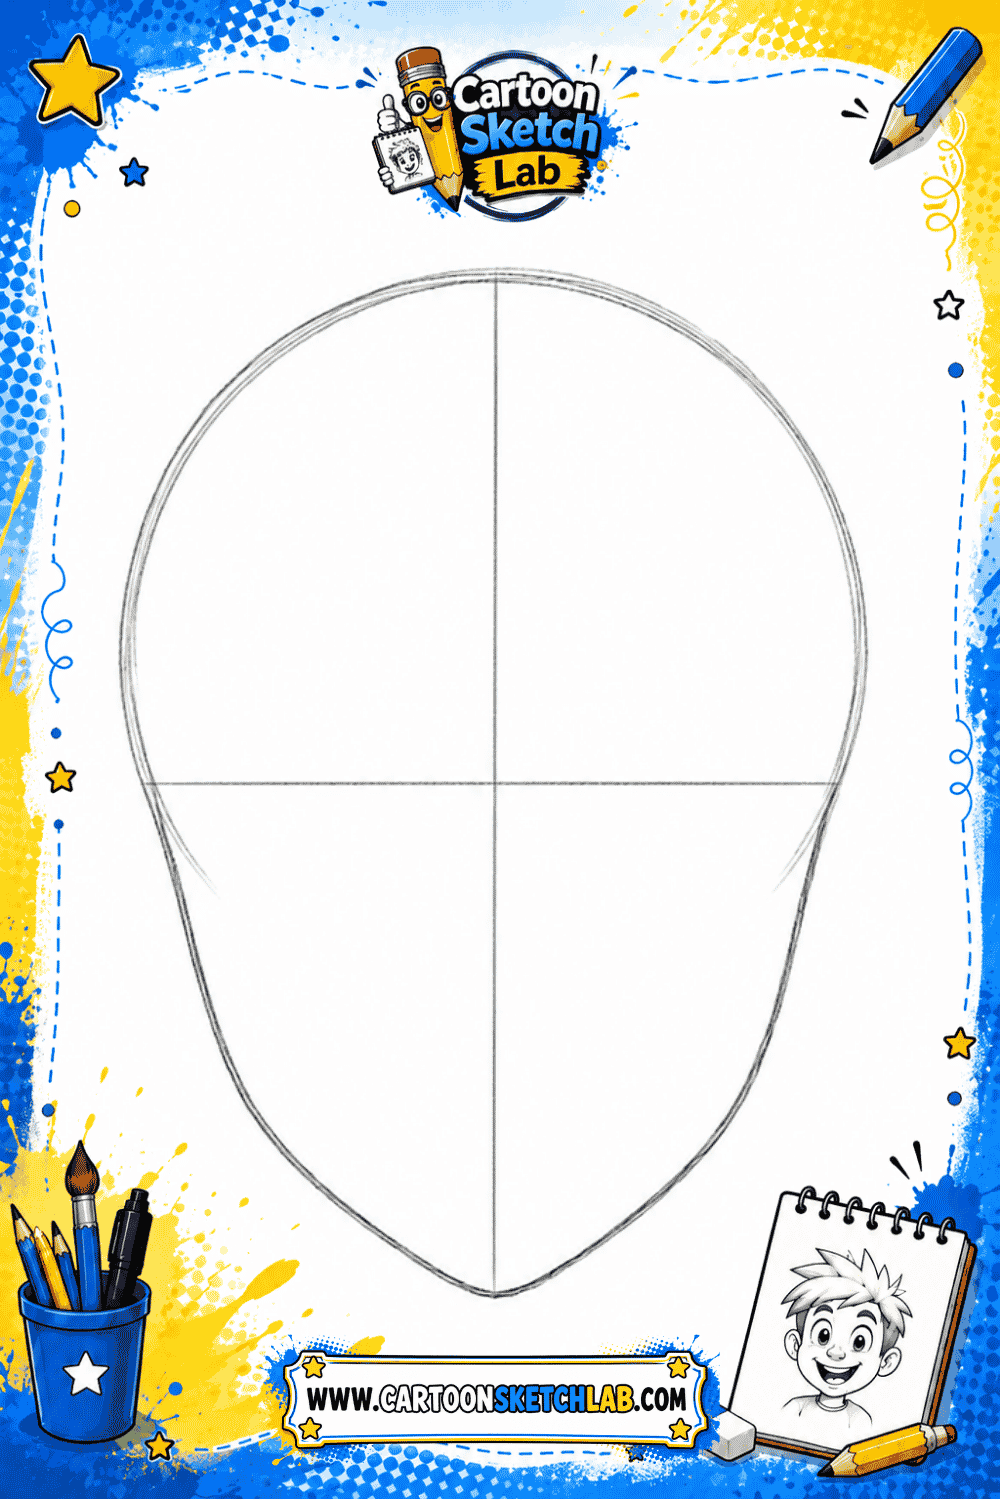
Draw one vertical line down the middle of the face. Then draw a horizontal line across the face where the eyes will go. These guide lines help you place the eyes, nose, mouth, and ears in the right positions.
Step 3
Sketch the anime eyes
Draw two large anime eyes on the horizontal guide line. Leave a small space between the eyes. Add the upper eyelids, round pupils, and small shine spots inside each eye to make the face look expressive.
Step 4
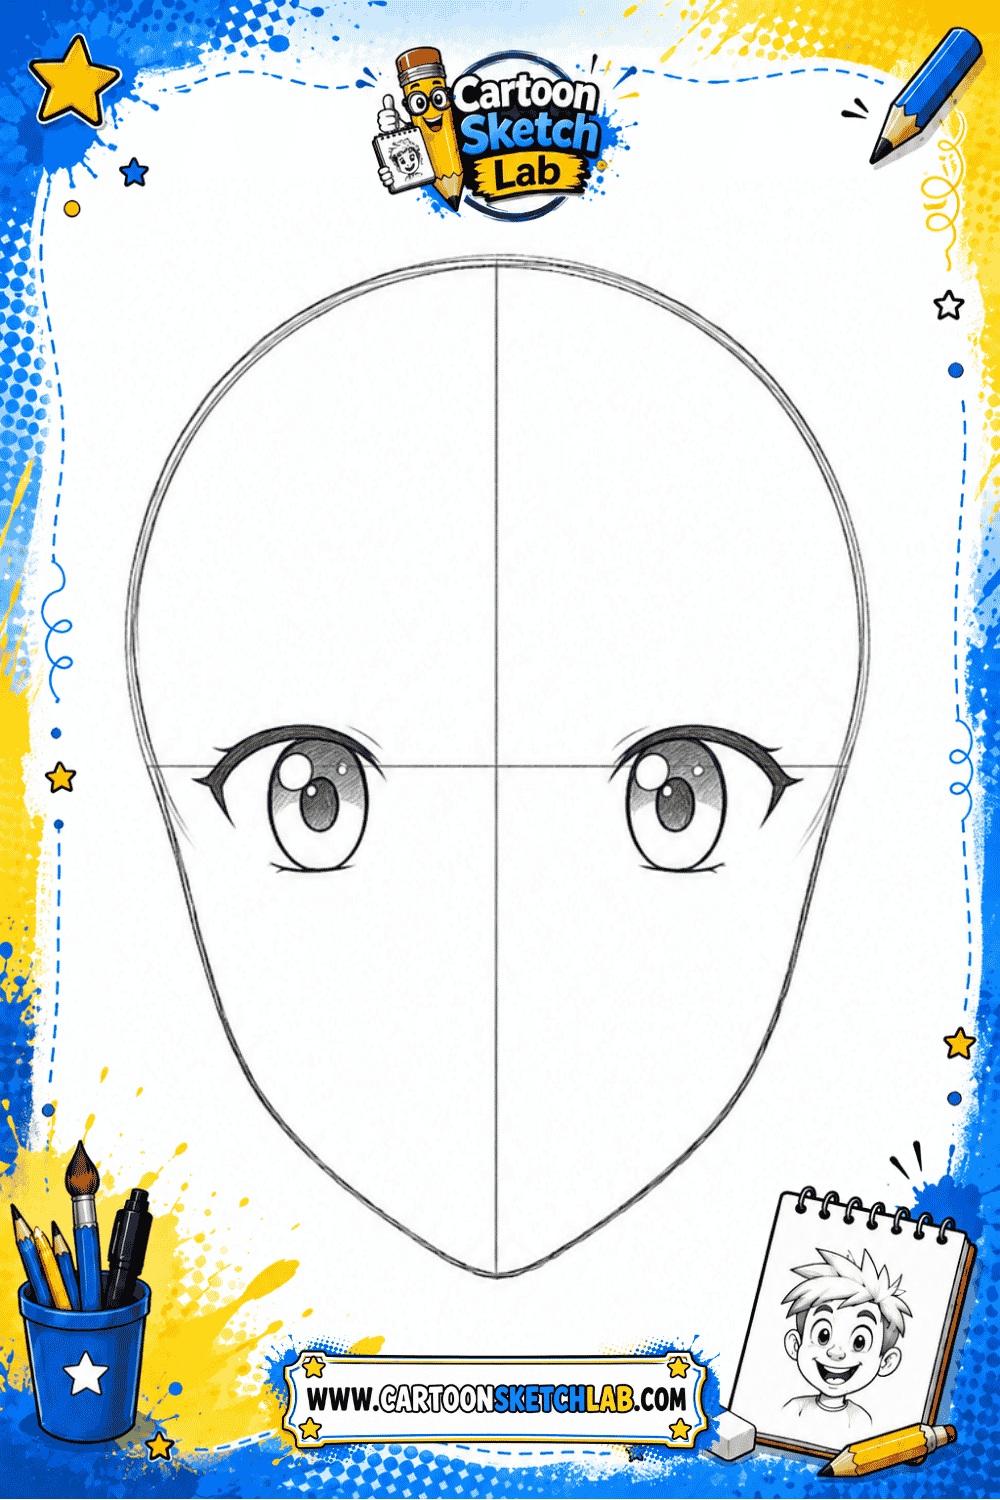
Draw the eyebrows and nose
Add two simple eyebrows above the eyes. Then draw a small nose between the eye line and the chin. Anime noses are usually simple, so use a short line or tiny curve instead of adding too many details.
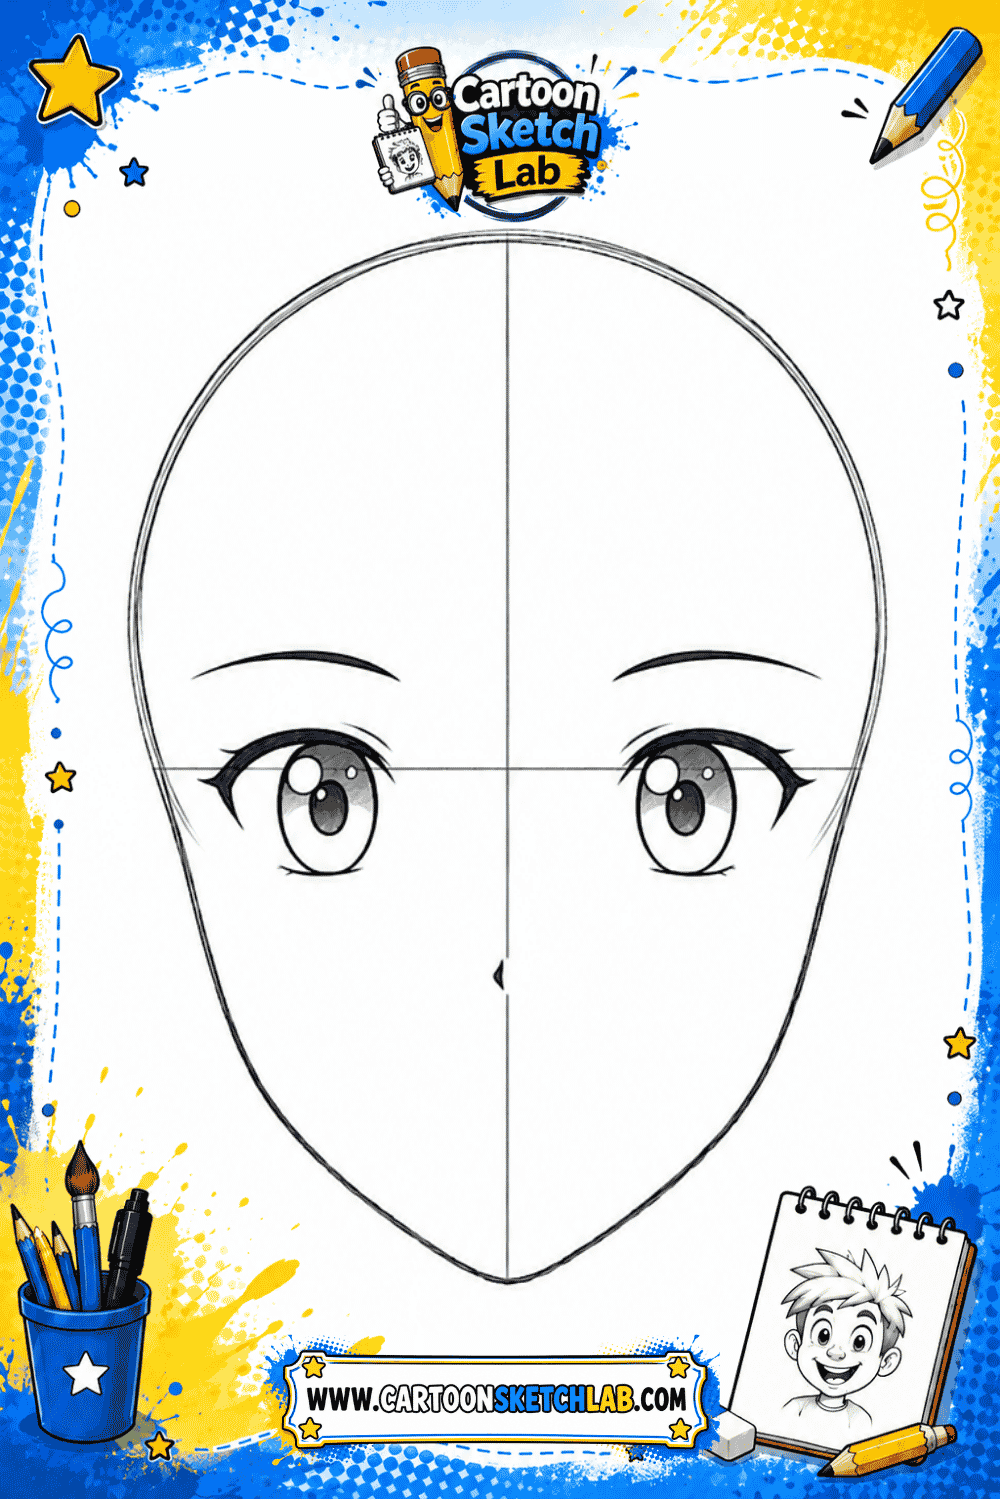
Step 5
Add the mouth and ears
Draw a small mouth between the nose and the chin. You can make it a soft smile for a friendly expression. Add the ears on both sides of the head, starting near the eye line and ending close to the nose line.
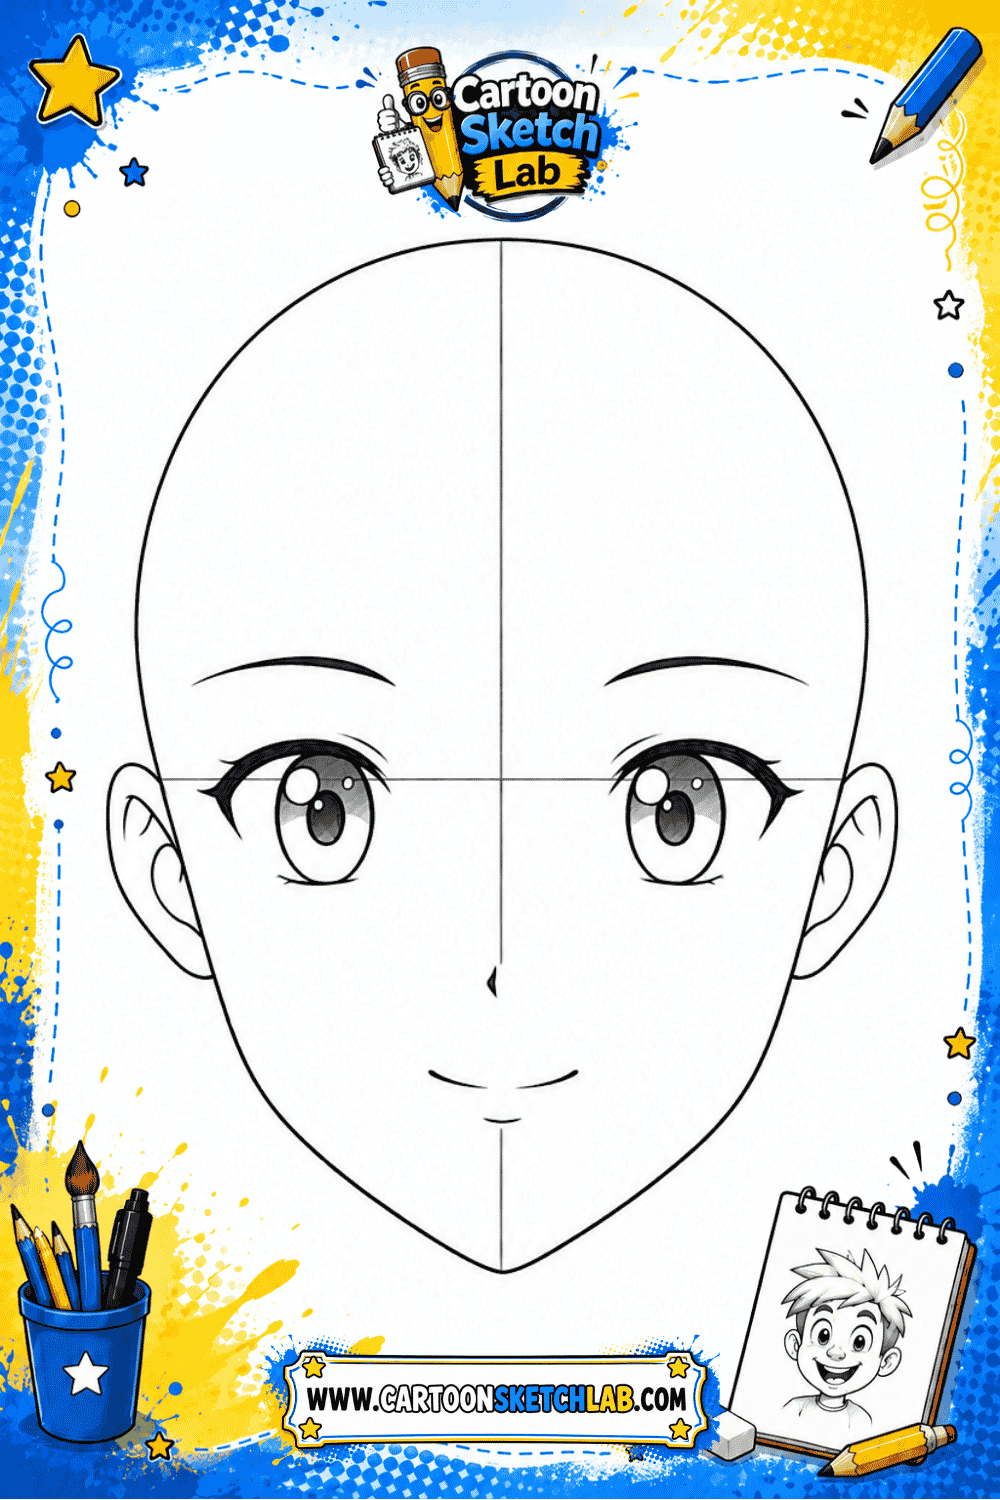
Step 6
Draw the anime hair
Sketch the hair using simple curved shapes. Start with the front bangs, then draw the sides and top of the hair. Anime hair often has pointed sections, so use clean clumps instead of drawing every strand.
Step 7
Clean the outline and erase guides
Go over your best lines with a darker pencil or black pen. Carefully erase the guide lines after the ink or dark outline is dry. Keep the face, eyes, and hair clean so the drawing looks neat.
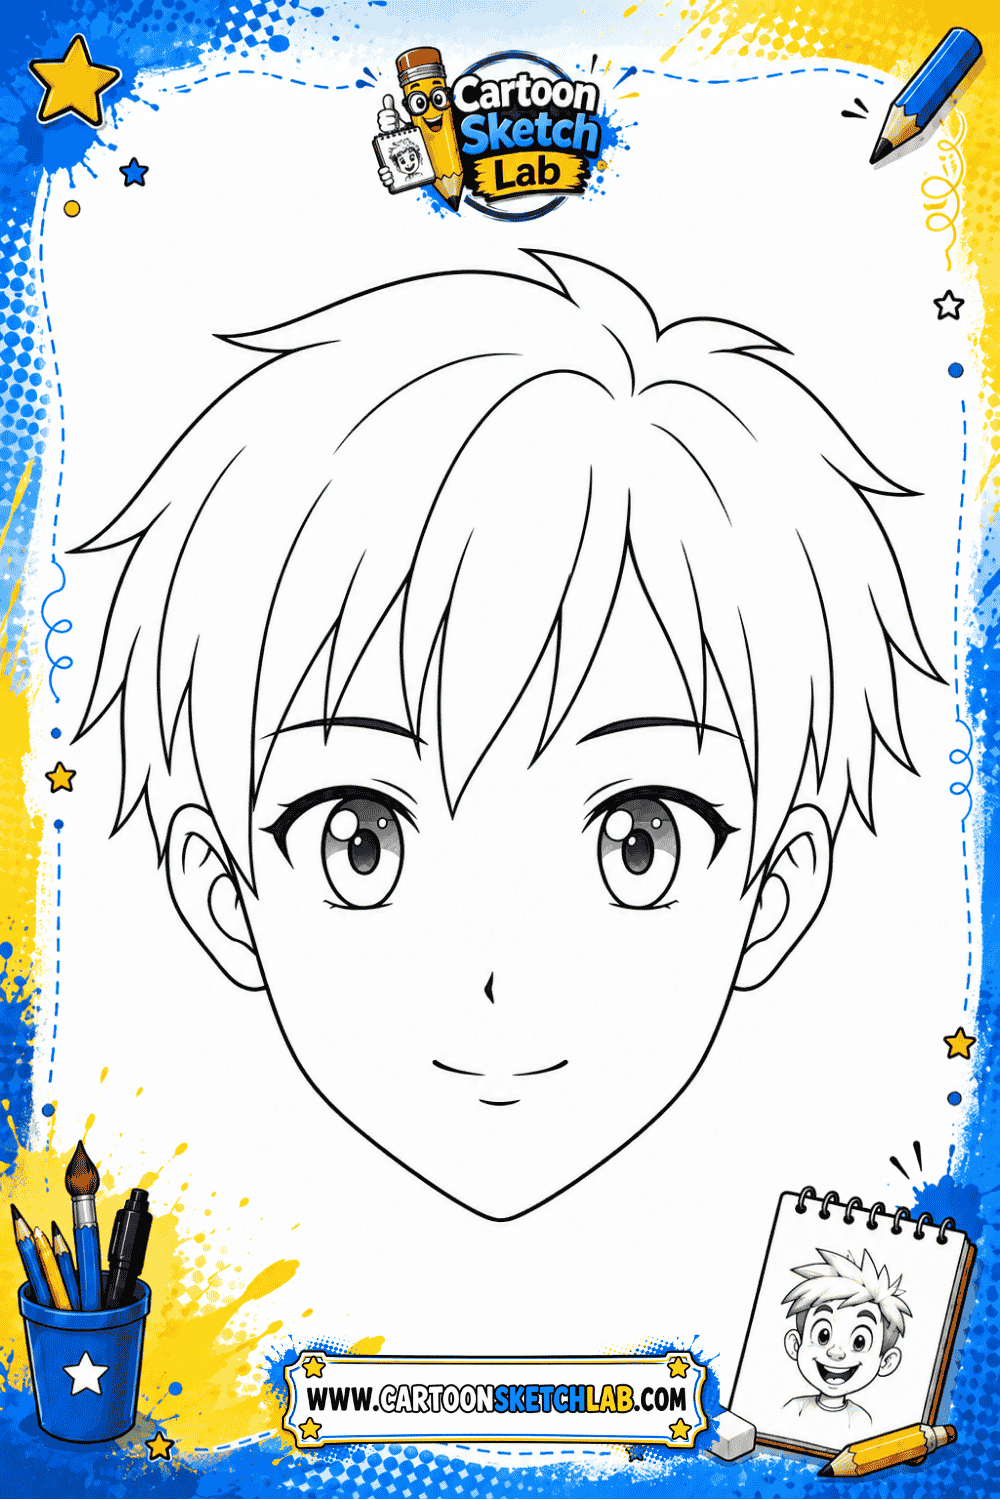
Step 8
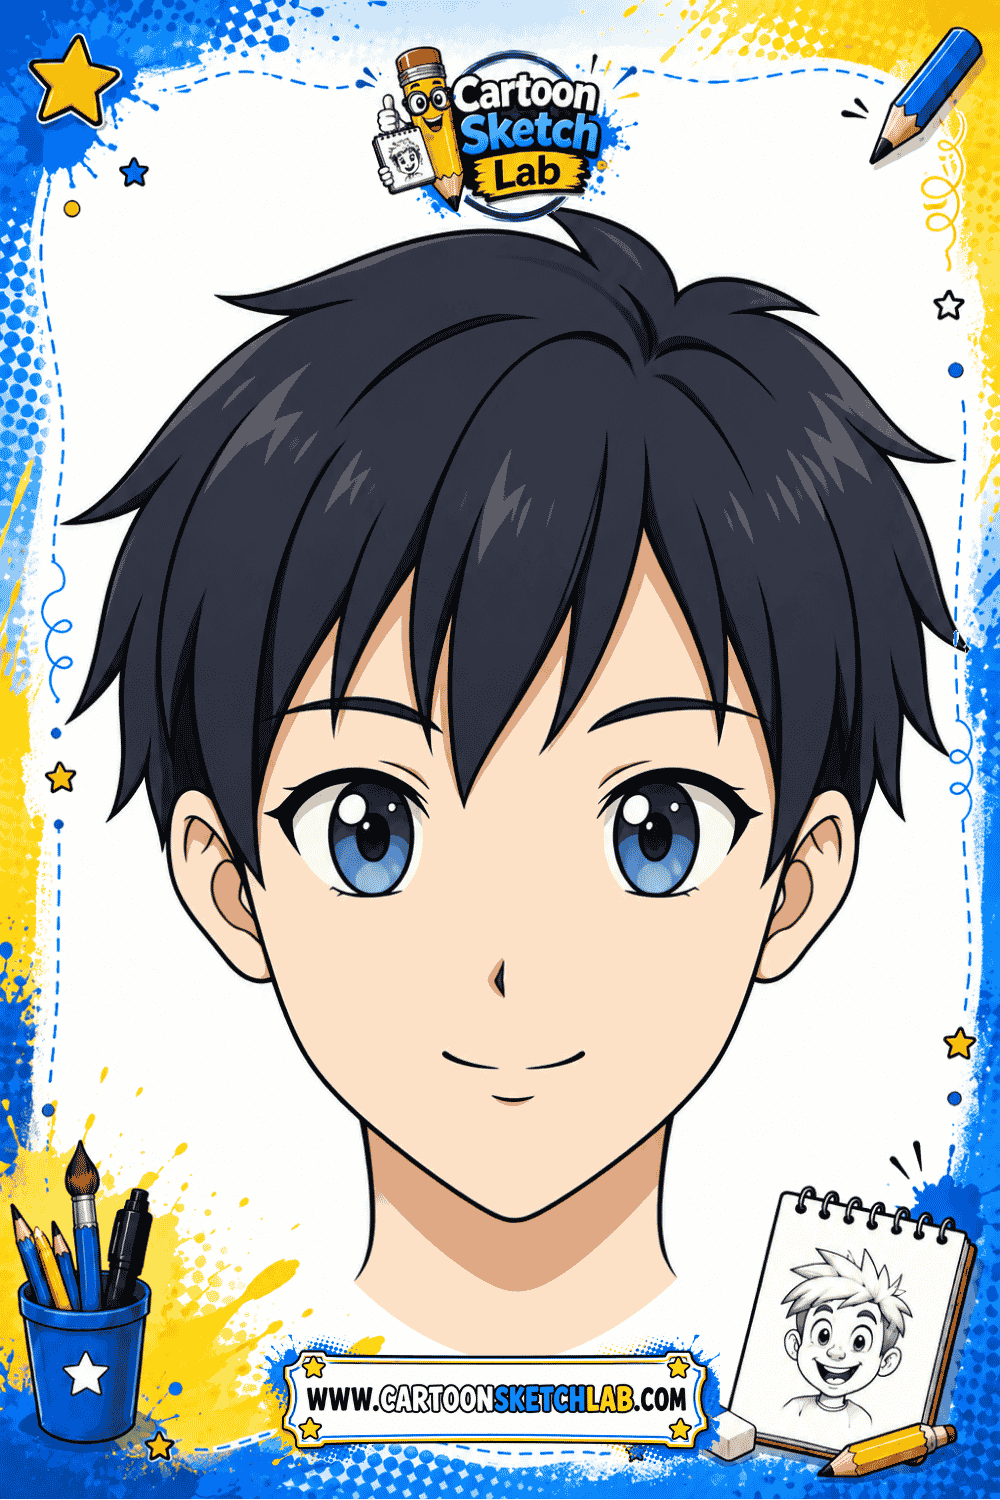
Add final details and color
Add small details like eye shine, light shadows under the hair, and soft color in the skin, eyes, and hair. You can keep the drawing black and white or color it with pencils, markers, or your favorite digital tool.
Beginner tips
- Keep your first lines light so they are easy to erase. Start with simple face shapes before adding hair and details. Make the eyes the same size by using guide lines. Practice different expressions like happy
- calm
- surprised
- and shy. Do not rush the hair; draw it in simple groups.
Common mistakes
- Drawing the eyes too high
- making one eye bigger than the other
- pressing too hard with the pencil
- skipping guide lines
- making the chin too sharp
- adding too many hair strands
- and coloring before cleaning the outline.
Related Drawing Tutorials
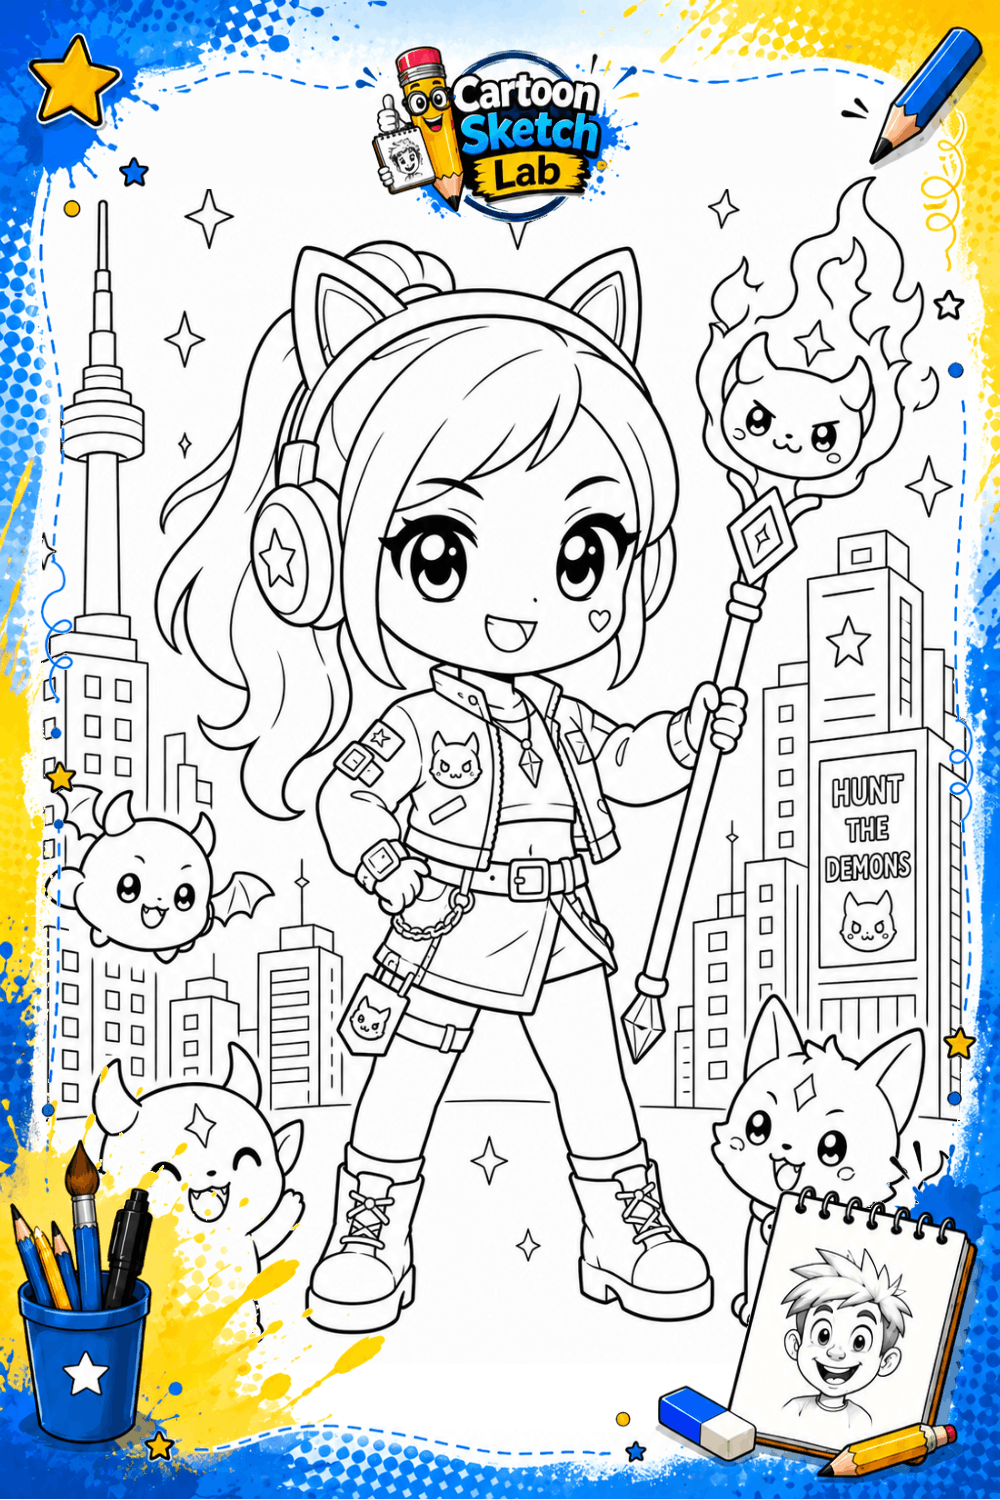
How to Draw KPop Demon Hunters Step by Step
Learn how to draw KPop Demon Hunters step by step with an easy anime-style drawing guide for kids, beginners, and K-pop fantasy art fans.
FAQ
Is an anime face easy for beginners to draw?
Yes. Beginners can draw an anime face more easily by starting with a circle, adding guide lines, and building the features step by step.
What should I draw first on an anime face?
Start with the head shape and guide lines first. After that, add the eyes, nose, mouth, ears, and hair.
How do I make anime eyes look better?
Use large eye shapes, add clear pupils, leave small white shine spots, and make both eyes line up on the same guide line.
Do I need special tools to draw anime faces?
Do I need special tools to draw anime faces?